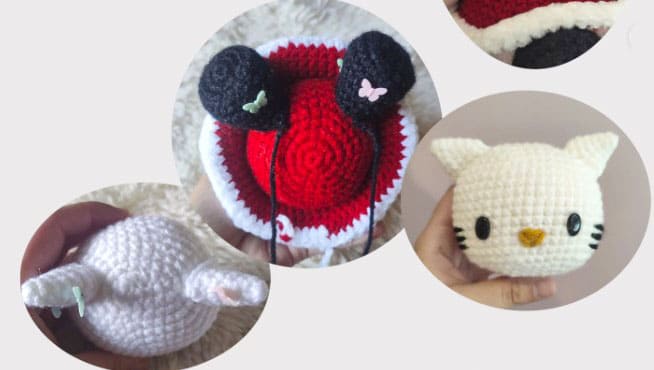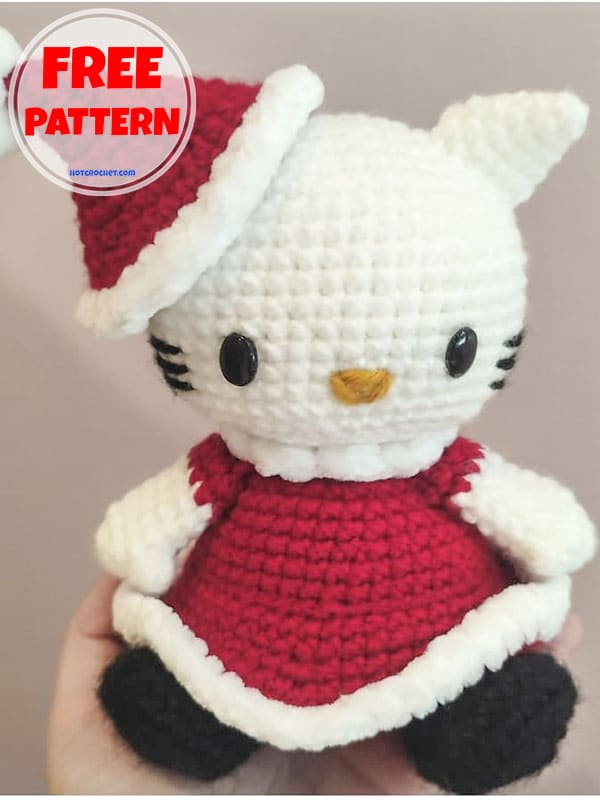
Here is the Christmas Hello Kitty crochet pattern. This cute crochet Hello Kitty is wearing a Christmas outfit this time. Doesn’t she look great with her red Christmas dress and red crochet Christmas hat? The white edges of her red dress are made with chenille yarn. This creates a softer and more magnificent Christmas dress. In the Hello Kitty crochet pattern, each piece is made separately and then assembled. Her dress is also made on the body. Here is the Hello Kitty crochet pattern below for free now.
Designer: lanalunacl
Xmas Hello Kitty Crochet Pattern
Materials
– Acrylic medium-weight yarn or cotton in red, black and white.
– For the details of the dress: white chenille.
– Crochet hook 3.0mm (or whatever suits you)
– Oval safety eyes 9x12mm
– Yarn needle
– Scissors
– Stuffing
Abreviations
Sc: Single crochet
Sl st: Slip stitch
Hdc: Half double crochet
Ch: Chain
Inc: Increase
Dec: Decrease
FLO: Front loop only
BLO: Back loop only
Head
white.
We will start with a foundation chain, this is so that it starts in an oval shape.
1. Start with 6 ch, from the second ch from the hook make 1 inc, 3 sc, 3 sc in the same ch, turn to crochet in the other part of the initial chain and make 4 sc (12)
We will continue working in rounds.
2. 2 inc, 3 sc, 3 inc, 3 sc, 1 inc (18)
3. 3 inc, 6 sc, 3 inc, 6 sc, (24)
4. 3 sc, inc* (30)
5. 4 sc, inc* (36)
6. 5 sc, inc* (42)
7. 6 sc, inc* (48)
8-16. sc in each st (48)
Safety eyes between rounds 13 and 14 with 7 visible sts of separation.
Stuff as you decrease.
17. 6 sc, dec* (42)
18. 5 sc, dec* (36)
19. 4 sc, dec* (30)
20. 3 sc, dec* (24)
21. 2 sc, dec* (18)
22. 9 dec (9)
Close with yarn needle.

Ears X2
1. 4 sc into magic ring
2. 1sc, inc* (6)
3. 2sc, inc* (8)
4. 3sc, inc* (10)
5. 4sc, inc* (12)
6. sc in each st (12)
Leave a long tail to sew.
Body
Red.
1. 6 sc into magic ring
2. inc in each st (12)
3. 1sc, inc* (18)
4. 2sc, inc* (24)
5. 3sc, inc* (30)
6. 4sc, inc* (36)
7. 5sc, inc* (42)
8. 6sc, inc* (48)
9-11. sc in each st (48)
12. in BLO 6 sc, dec* (42)
13-14. sc in each st (42)
15. 5sc, dec* (36)
16-17. sc in each st (36)
18. 4sc, dec* (30)
19. sc in each st (30)
Finish with a slst and leave a long tail for sewing.

Legs X2
Black.
1. 6 sc into magic ring
2. inc in each st (12)
3. inc in each st (24)
4. in BLO sc in each st (24)
5. sc in each st (24)
6. 6 sc, 6 dec, 6 sc (18)
7. 4 sc, 5 dec, 4 sc (13)
8. sc in each st (13)
Finish with a slst and leave a long tail for sewing.
Dress
Red.
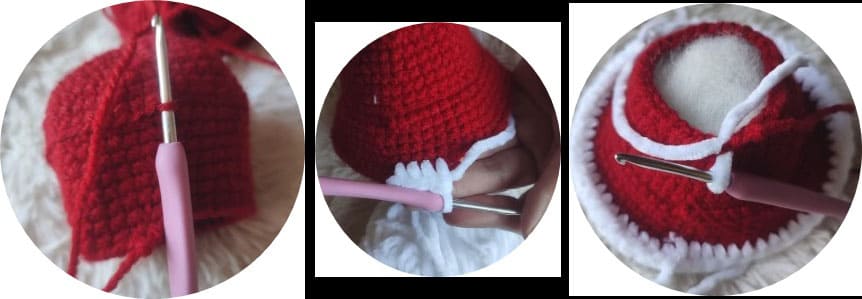
Attach the yarn to round 12 of the body, where we worked in BLO.
We will crochet in a spiral.
1. 48 sc
2. 48 sc
3. 7sc, inc* (54)
4. 8sc, inc* (60)
5. sc in each st (60)
Change color and material to white chenille to make the edge of the skirt.
6. hdc in each st (60)
Cut and hide the yarn.
Detail of the body before sewing the head to it:
Attach chenille yarn to the top of the body to make the collar of the dress.
Make: 2 dc in the same st, then slst in the next, repeat the whole round.
Cut and hide the yarn.
Arms X2
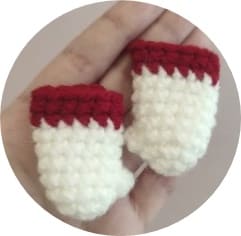
White.
1. 6 sc into magic ring
2. inc in each st (12)
3. sc in each st (12)
4. popcorn stitch of 5 sc, 11 sc (12)
5-8. sc in each st (12)
Change to red.
9-10. sc in each st (12)
End with a slst and leave a long tail for sewing.
Hat
Red.
1. 4 sc into magic ring
2. 1sc, inc* (6)
3. 2sc, inc* (8)
4. 3sc, inc* (10)
5. 4sc, inc* (12)
6. 1sc, inc* (18)
7. 2sc, inc* (24)
8. 3sc, inc* (30)
9-10. sc in each st (30)
Change material and color to white chenille.
11. inc in each st (60)
Cut and hide the yarn.

Pompom
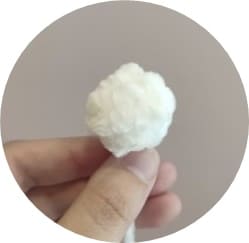
White chenille.
1. 6 sc into magic ring
2. inc in each st (12)
3. sc in each st (12)
4. dec x6 (6)
Close with yarn needle and leave long tail to sew to the tip of the hat.
Assembly and details
Using yellow thread or yarn, embroider the nose between rows 14 and 15.
Using black thread or yarn, embroider the 3 whiskers on each side starting from row 13 approx.
Sew the legs between rounds rows 6 and 10 approx.
Using the rest of the red yarn left on the body, sew the head.
Place the arms just below the chenille row on the neck.
